
Make sure this guide fits your controller
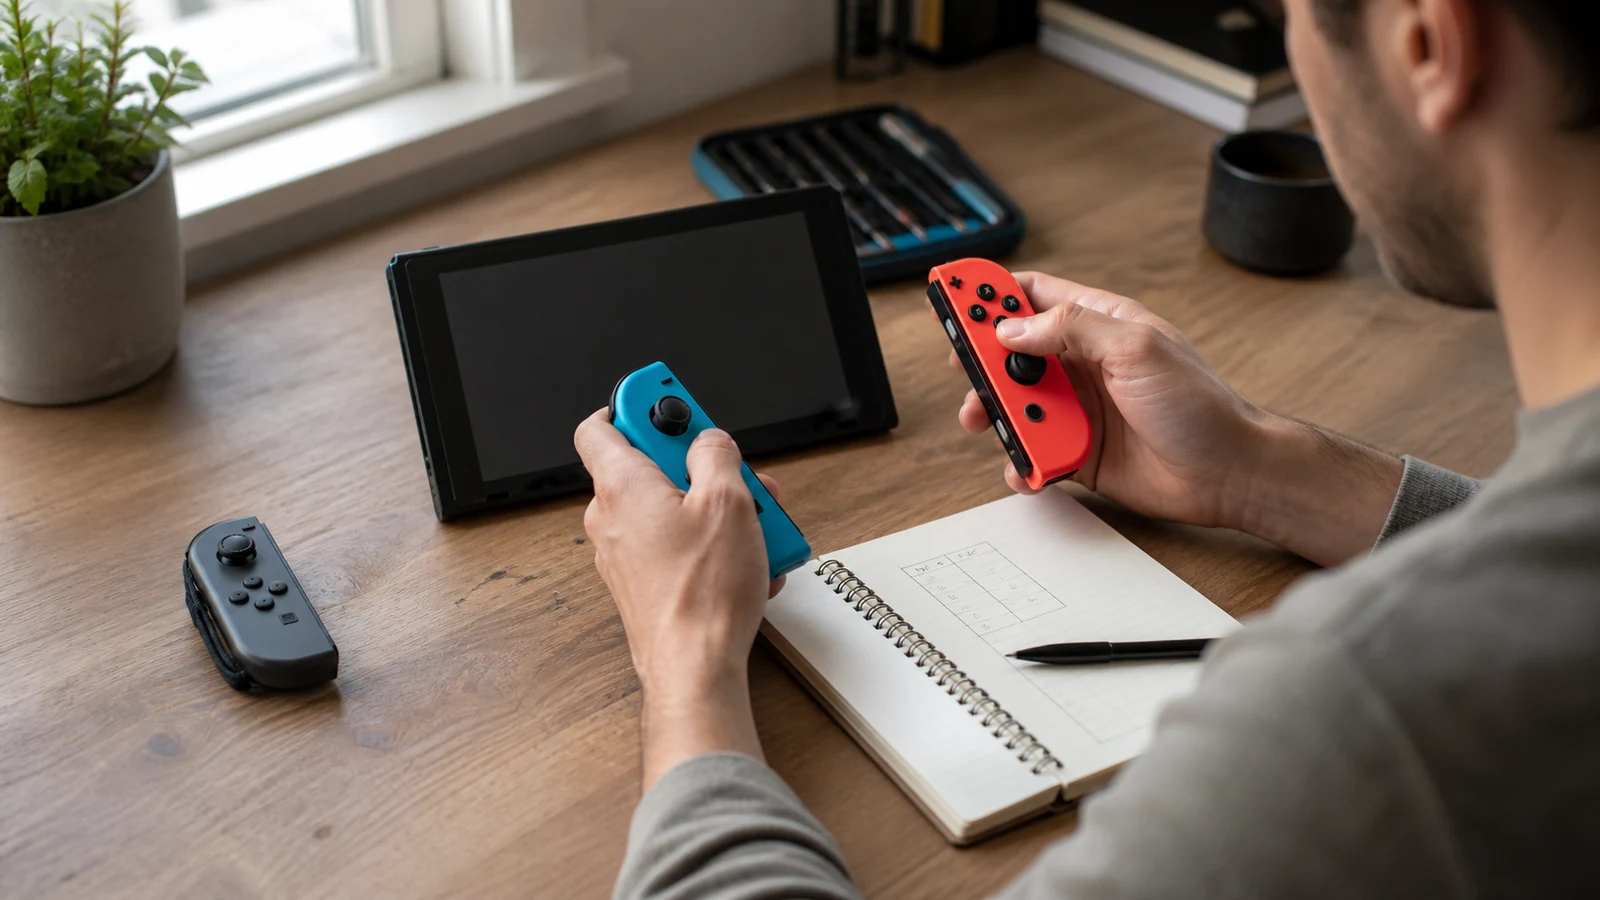
This guide covers the original detachable Joy-Con controllers used with Nintendo Switch-family systems. Nintendo Switch Lite has built-in controls, and Nintendo Switch 2 uses different Joy-Con 2 hardware and support paths. Use Nintendo’s instructions for your exact model instead of treating every controller as interchangeable.
People also use “drift” for different symptoms. True unwanted stick input means a game or system feature reads movement while you are not touching the control stick. A character may walk, a camera may turn, or a cursor may creep on its own. A sticky button, motion control, an accessibility setting, a loose rail connection, or a stick that physically binds calls for a different test.
Save what happens before changing anything
Put the console on a stable surface and take both thumbs off the sticks. Record a short, privacy-safe video if the movement is visible. Keep account names, messages, friend lists, and voice chat out of frame. Write down:
- which Joy-Con and which stick are involved
- the direction, speed, and frequency of the movement
- whether the physical stick returns to center
- which games and system screens show it
- whether another controller behaves normally
- recent drops, liquid, storage, travel, updates, or repair attempts
Do this before changing sensitivity, remapping buttons, or trying a cleaning trick. A change can hide the symptom without showing where it came from.
Check for custom button mapping
Nintendo’s current support flow says a wrench icon beside the controller indicates custom button mapping. Open System Settings > Controllers and Sensors > Change Button Mapping and review the controller before resetting anything.
Mapping usually changes what a control does, not whether an analog stick returns to neutral, but it can make the symptom look different from the default layout. Save the current mapping if it matters to an accessibility setup. Reset only the intended controller to its default mapping, retest, and restore the user’s preferred setup if mapping was not the cause.
Compare one game, another game, and a system screen
Start in a calm scene where a mistake will not erase progress. Set the controller down, leave the stick untouched for 20 to 30 seconds, and watch for unwanted movement. Repeat the same test in another game that uses that stick.
If the issue happens in only one game, check that game’s deadzone, sensitivity, motion-control, remapping, and controller-profile settings. Restore only a setting you understand to its known default. A one-game result is not enough to call the Joy-Con defective.
Next, compare a system screen that responds to the same stick. Not every Nintendo Switch menu reads both sticks in the same way, so a quiet menu does not erase a repeatable in-game result. The useful pattern is whether the movement appears across more than one context.
- One game only: keep the investigation with that game’s settings, profile, or update.
- Several games, one Joy-Con: the problem is more likely to follow that controller.
- Several controllers behave the same way: widen the check to the game, console state, accessories, and environment.
- The stick binds or will not return physically: stop forcing it and save that mechanical symptom.
Update the console and controller
Install the current Nintendo Switch system update through System Settings > System > System Update. Keep the console on stable power and let the update finish. Then open System Settings > Controllers and Sensors > Update Controllers to update the connected Joy-Con.
Repeat the same neutral-stick test afterward. An update can correct controller communication or software behavior. It cannot repair impact damage, liquid damage, a swollen battery, or a worn mechanism. Record whether the exact test changed instead of assuming the update fixed or caused the problem.
Use Nintendo’s calibration test once
Open System Settings > Controllers and Sensors > Calibrate Control Sticks. Nintendo says to tilt the stick that you want to check and follow the on-screen instructions. Use the controller’s normal range. Do not force the stick against its edge.
Watch the calibration indicator while the stick is untouched and while you move it slowly through a circle. Save whether the indicator rests at center, creeps in one direction, jumps, or fails to reach part of the range. If calibration completes, return to the same game test. The intended outcome is stable neutral input in real use, not merely a completed calibration screen.
If the controller cannot complete calibration or the unwanted input returns immediately, stop repeating the procedure. Nintendo’s support path moves persistent response problems toward service.
Compare another controller if you have one
Use the same console, game, scene, account settings, and test window. Change only the controller. This is the strongest safe comparison most owners can make at home.
- The problem follows the first Joy-Con: save both results and check warranty or service.
- Both controllers behave the same way: revisit the game, system state, wireless environment, and connected inputs before blaming both sticks.
- The result changes after reconnecting: repeat it once. An intermittent problem still matters, but one clean pass is not proof of a lasting repair.
If you do not have another controller, the cross-game and calibration results still help. Do not buy a controller solely to run this comparison.
Skip sprays, prying, and aggressive cleaning
Do not put contact cleaner, alcohol, lubricant, water, compressed air, or household cleaner into the stick opening. Liquid can move contamination, affect plastics or electronics, and complicate warranty or later service. High-pressure air can push debris farther inside.
You may wipe the exterior with a clean, dry microfiber cloth while the controller is disconnected. Do not pull hard on the stick, pry the shell, drill an access hole, or repeatedly snap the stick against its limits. If visible exterior debris blocks movement and a dry wipe does not remove it, stop there.
Check Nintendo service before local repair
Use Nintendo’s current support and repair pages for your model and region. Coverage, proof-of-purchase requirements, cost, shipping, and turnaround can change. Do not assume every drift repair is free, and do not let anyone open a controller until you know whether that could affect a warranty or manufacturer service option.
Keep the receipt, serial details, purchase date, video, calibration result, and second-controller comparison. Describe the repeatable behavior rather than naming an internal part that has not been inspected.
When an inspection makes sense
Arrange service when unwanted input follows one original Joy-Con across multiple games after update and calibration, another controller works normally, the stick binds or will not return, or the problem began after a drop or liquid event. Stop immediately for swelling, heat, odor, case separation, or charging trouble.
A technician still needs to inspect and test the controller before naming the failed part or quoting the final repair. Your comparisons help prevent a game setting from being treated as hardware.
What to bring to Budget Repair
- the affected Joy-Con, plus the console only if the problem does not clearly follow one controller
- the controller model and serial information
- proof of purchase if Nintendo service may apply
- games and system screens tested
- update and calibration results
- the second-controller comparison
- any impact, liquid, heat, swelling, or prior repair history
If the wider console also freezes, will not charge, or has another hardware symptom, use our game console repair service as the starting point. For a separate power problem, follow the Nintendo Switch charging checklist without mixing it into the stick test.
Editorial sources
Checked August 15, 2026 against Nintendo Support’s current Joy-Con control-stick response flow, control-stick calibration instructions, controller update instructions, and online repair request guidance. Budget Repair added the cross-game and second-controller comparisons, battery safety stops, privacy-safe evidence notes, and local service handoff. No internal part diagnosis is implied.