
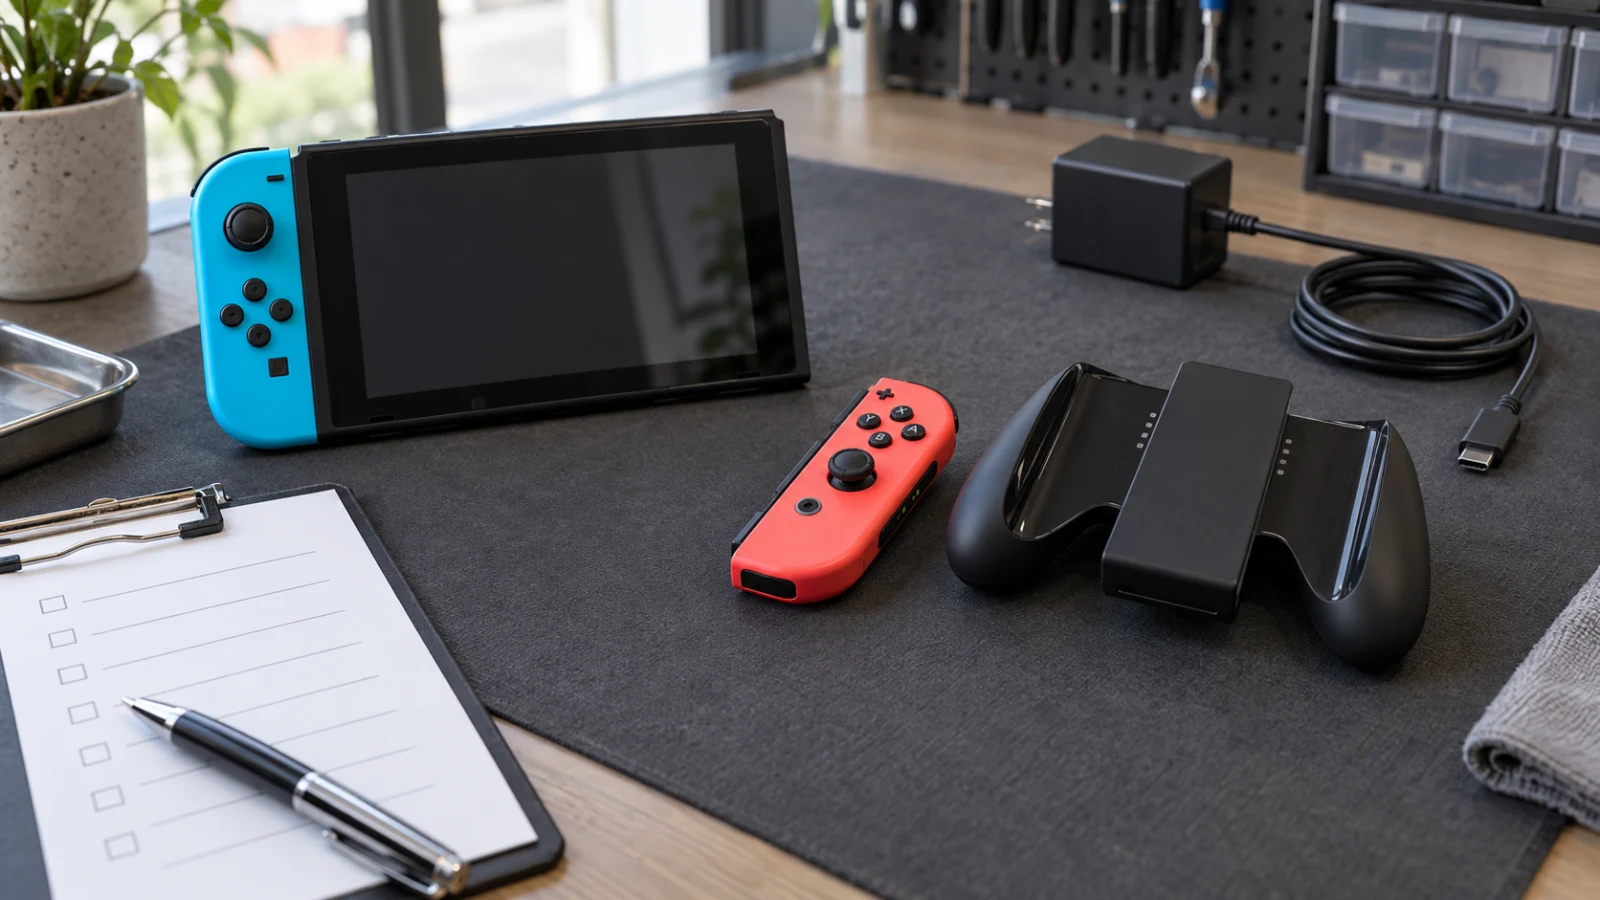
Make sure these steps fit your controller
This guide covers the original left and right Joy-Con used with Nintendo Switch, Nintendo Switch OLED Model, and the standard console family. A Nintendo Switch Lite has built-in controls, so it cannot use the attach-and-charge comparison described here. Joy-Con 2 and Nintendo Switch 2 use a different connection and support route.
Before changing anything, write down the console model, which controller is affected, its side and color, when it last charged, and what the HOME Menu shows. Note whether the problem followed a drop, liquid exposure, rail damage, long storage, or a depleted console battery.
Keep these symptoms separate:
- The Joy-Con connects but shows no charging symbol. The controller, attachment, rail, or console power path still needs comparison.
- The Joy-Con will not register when attached. Treat connection and charging as separate symptoms. A charging test cannot be trusted until the console detects the controller.
- The controller charges but drains quickly. Record how long it lasts. Battery runtime is a different question from whether charging begins.
- The console itself will not charge. Start with the Nintendo Switch charging guide before blaming either Joy-Con.
Confirm that the console can charge first
Nintendo first asks you to make sure the console has power. Use the Nintendo Switch AC adapter intended for the original system, model HAC-002. Connect it directly to the console and a working wall outlet for the comparison. If you normally charge through the dock, a direct connection removes the dock from this first check.
Look for frayed insulation, a bent connector, looseness, discoloration, residue, or unusual heat. Do not use a damaged adapter or port. If the console battery is fully depleted, leave the correct adapter connected long enough for the charge indicator to appear before checking the controller.
If the console will not accept a charge, its attached controllers may not charge either. Solve or document that shared power problem first. Do not keep attaching and removing the Joy-Con while the console is hot, wet, physically damaged, or showing a battery warning.
Attach the Joy-Con and check the HOME Menu
Turn the console on or wake it from sleep. Slide the Joy-Con onto the matching side until it seats normally. Do not force it past resistance. On the HOME Menu, open Controllers and look at the battery indicator for the attached controller. Nintendo notes that a fully charged Joy-Con will not continue charging, so a full battery without a charging animation is not a failure.
If the console does not recognize the Joy-Con, detach it. Press the small SYNC Button once, then press another button to power it on and attach it again. This is a reconnection step, not a factory reset. Do not hold buttons randomly or erase controller pairing records when one simple reconnect is enough.
Record whether the controller appears, whether the console marks it as attached, and whether the charging symbol appears. A screenshot or photo of the Controllers screen can preserve the result without guessing from the LEDs.
Compare the left and right sides
Use the same powered console and test one controller at a time. Attach the left Joy-Con to the left rail, note the result, then repeat with the right Joy-Con on the right rail. This is not a perfect swap test because left and right Joy-Con cannot attach to the opposite rails, but it can reveal whether the problem affects one controller or the shared console power state.
- One Joy-Con charges and the other does not. Keep the failing controller, its rail, and its attachment behavior in scope. The working side shows that the console has at least one functioning controller-charging path.
- Neither Joy-Con charges, but the console does. Confirm that both are detected and not already full. Then compare another supported charging path if one is available.
- Both begin charging after reconnection. Let them remain attached and verify that their reported levels rise. One charging symbol is useful, but a later battery-level increase is a better readback.
- One controller feels loose or disconnects when touched. Stop repeatedly sliding it on and off. Physical wear or damage needs inspection before more charging attempts.
Use a charging grip only if you already have one
The standard Joy-Con Grip included with many consoles does not charge controllers. Nintendo's Joy-Con Charging Grip is a separate accessory with a USB charging connection. Check the label and instructions before using a grip as evidence.
If you already have a compatible charging grip and its cable, attach the same failing Joy-Con to the grip and connect the grip as directed by Nintendo. Use the controller battery screen to check whether charging begins. Keep the controller and the observation period the same as the console test.
- The Joy-Con charges on the charging grip but not on the console. The controller can accept power through another supported path. The console rail, attachment, or console-side charging path deserves inspection.
- The Joy-Con fails on both the console and charging grip. The repeated result makes a controller-side problem more plausible, but only an inspection can confirm the cause.
- Neither controller charges on the grip. Verify that it is a charging grip, then keep the grip, cable, and power source in scope. Do not use that result alone to condemn both controllers.
You do not need to buy an accessory just to complete this guide. If you do not already have a known-good charging grip, preserve the console results and move to the service decision.
Inspect the outside without cleaning inside the rail
With power disconnected, look at the outside of the Joy-Con and console rail under good light. Check for a bent rail, cracked shell, debris that prevents full seating, corrosion, residue, or missing pieces. Do not insert tweezers, paper clips, blades, brushes, cotton swabs, or liquid into the rail contacts.
Wipe only the dry exterior with a soft cloth if needed. Contact cleaner, alcohol, water, and compressed air can move liquid or debris deeper into a small connector. A damaged rail or swollen shell should stay out of service until it can be handled safely.
If the controller attaches and charges but the stick moves by itself, use the separate Joy-Con drift guide. Charging, wireless connection, rail detection, buttons, and stick movement are different functions. Keep each symptom in the repair notes.
What your comparison can and cannot prove
A repeatable comparison is more useful than restarting the console many times or trying a pile of cables. It can show which combination works, but it cannot distinguish a battery, internal connector, rail contact, charging circuit, cable, or board fault without inspection.
Use this result summary:
- Fails only on one console side, charges on a known-good grip: preserve the console-side result.
- Fails on the console and a known-good charging grip: preserve the controller-side result.
- Both controllers fail while the console also fails to charge: address the shared console power problem first.
- Charging starts but the level never rises: record the starting level, elapsed time, power source, and ending level.
Do not replace parts from this table alone. The goal is to narrow the test and make a clear handoff, not guess the diagnosis.
When to arrange an inspection
Arrange service when one Joy-Con repeatedly fails on both supported charging paths, one console rail never charges a detected controller, the controller is loose, the rail or shell is visibly damaged, charging cuts in and out without movement, or there are heat, swelling, liquid, or odor concerns.
Bring the console, affected Joy-Con, Nintendo AC adapter, and charging grip only if it was part of the comparison. Include the Controllers-screen result, whether the console charges, which side fails, and whether the battery level changed. The game console repair page explains Budget Repair's local service route.
If you want Budget Repair in Lawrence to inspect the devices, send the model and comparison results through the instant quote form. Inspection comes before any confirmed cause, price, part, turnaround time, warranty decision, or repair outcome.
Editorial sources
Checked September 10, 2026 against Nintendo's Joy-Con power and charging troubleshooting, Joy-Con attachment instructions, and Joy-Con Charging Grip instructions. Nintendo supplies the supported connection, power, controller-screen, SYNC Button, charging-grip, and repair-routing steps. Budget Repair added the comparison order, safety limits, documentation prompts, service boundary, and local links. This article covers original Joy-Con and does not identify a failed part or promise a price, part, warranty decision, turnaround time, or repair result. Budget Repair is not affiliated with Nintendo.